 Doculven
Scan a document to PDF with your phone camera
Capture a paper document, straighten the corners, inspect the scan, and choose a PDF or JPG that your recipient can actually use.
A photograph can contain all the words on a page and still make a poor document scan. The desk may take up half the frame, the bottom half of the sheet may be wider than the top, and a shadow from the phone can make a signature hard to read. To scan a document to PDF with a phone, start with a clean capture and check the corrected page before deciding how to send it.
Try a one-page A4 scan before opening the camera
Download the 900 × 1200 sample document image and open the document scanner. Choose the image from your device. The tilted sheet and dark desk make it easy to see whether the four handles land on the paper. Select PDF, preview the scan and inspect the top and bottom rows before saving.
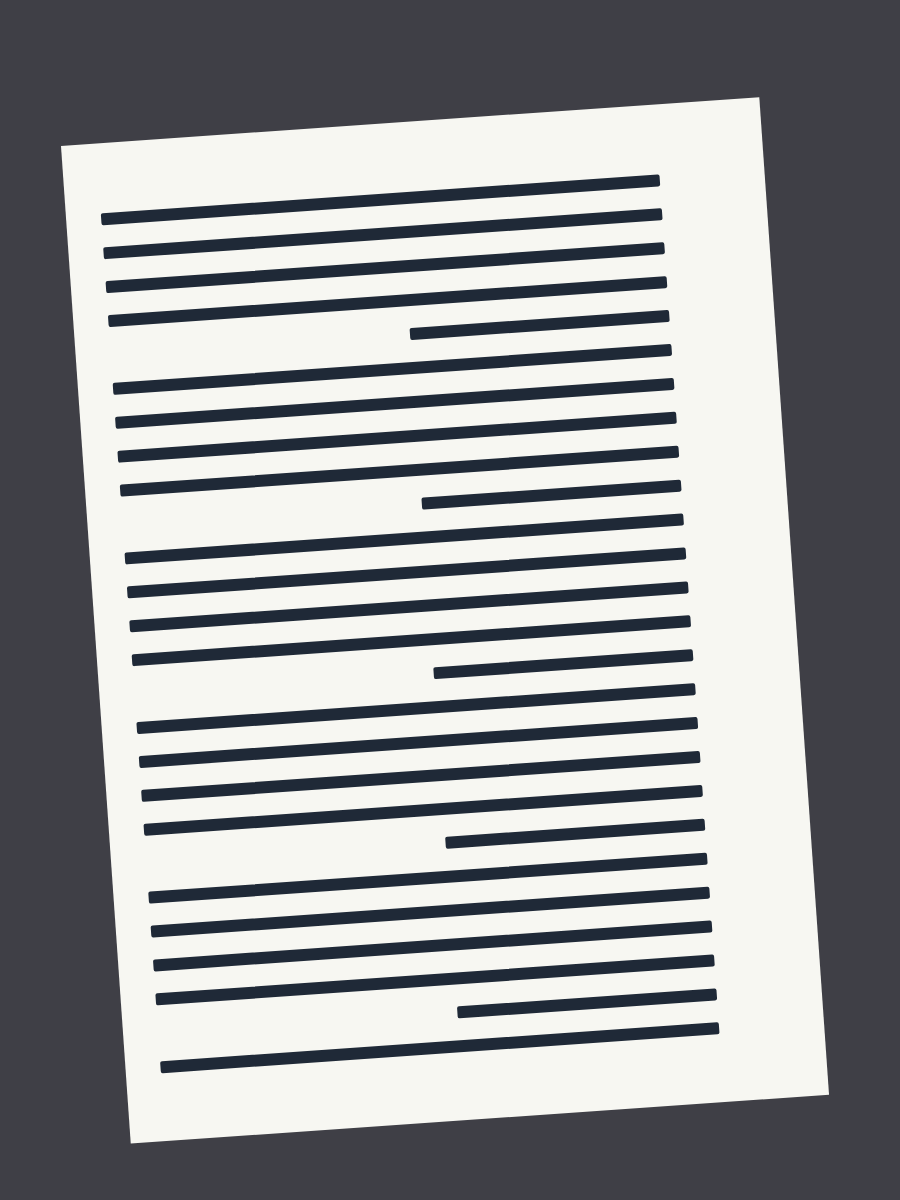
Open the actual A4 PDF exported from that image. Its single page measures 210 × 297 mm. Compare the edges with the tilted input. A straight border tells you about alignment; it cannot tell you whether small handwriting in a real photograph was in focus.
We tested the file-to-PDF path in Chromium at a 320-pixel viewport on Windows. Camera capture was exercised separately with a simulated video device. On your phone, use a well-lit printed page for the first camera test. If camera access is unavailable, take the picture in your camera app and choose it from the scanner.
Decide what the recipient needs
Open the submission instructions while you still have the original paper. Check whether the form accepts a PDF, a JPG, or either. Look for a maximum file size, any requirement to combine related sheets, and whether both sides of the document are requested. Write these rules down if you are preparing several attachments. A named requirement such as “one PDF for all three pages” affects how you organise the job even if the scanner captures one page at a time.
Keep the original paper nearby until the upload is accepted. If you have an existing digital PDF with selectable text, use that file when the recipient accepts it. Photographing a printed copy introduces a second generation of detail loss, and a camera scan is an image inside a PDF. A search box in the PDF viewer will not find words in that image unless you use a separate OCR process.
Set up the paper and the light
Put the sheet on a flat, matte surface that contrasts with the paper. A white page usually has a clearer boundary on a dark desk. Move nearby objects out of the frame so a notebook, keyboard or another sheet cannot be mistaken for the document. If the page curls, flatten it before shooting. Perspective correction can reshape a quadrilateral, but it cannot undo the changing focus and shadows created by a curled surface.
Use indirect light from a window or a lamp off to one side. Check the live view for a dark block from the phone and a bright patch on glossy paper. Move the page or the light until both fade. Be especially careful with stamps, pale pencil and small grey print. These details can disappear long before a bold heading becomes hard to read. Wiping the lens can also make a bigger difference than raising contrast later.
Capture and adjust the corners
Open the document scanner and allow camera access, or choose an existing photo. Hold the camera roughly parallel to the sheet and keep all four corners inside the frame. Fill most of the view while leaving a narrow strip of background around each edge. Let focus settle on the print. A steady grip and good light help more than digital zoom, which can narrow the view without adding document detail.
When the scanner detects an outline, check that it follows the paper itself. Capture the page and inspect the four handles on the still image. Drag any handle that lands on a shadow or a tabletop seam. If the document fills the frame and a corner has already been cut off, take another photo. The crop cannot restore an edge outside the image. If the first attempt puts the handles in roughly the right place, you can usually finish with a small adjustment at each corner.
Inspect the corrected scan before downloading
Choose JPG for a form that asks for an image or for a page you plan to use in a photo workflow. Choose PDF for a single sheet that should open as an A4 document. Prepare the scan and look at the corrected preview. Follow a printed line from left to right and check that the line stays level. Look at the footer, page number and outer margins, where an incorrectly placed corner often shows up first.
Enable brightness and colour balancing when the paper looks dull, then compare the result with the original. Turn it off if a faint stamp, pencil note or light blue signature becomes harder to see. If several lines are soft in the same direction, return to the camera and take a steadier photo. Sharpening cannot recreate letters that were never captured clearly.
A JPG preview shows the corrected sheet itself. In the PDF that sheet is centred within the page with space around it. Open the downloaded PDF in a viewer and inspect it at a readable zoom. A good thumbnail can hide a cut off character that becomes obvious at actual reading size.
Assemble several pages in order
If a submission needs one file with multiple pages, export each corrected page as JPG and give it a short numbered name, such as application-01 and application-02. Use two digits if there may be ten or more sheets so filenames sort in a useful order. Keep pages with matching orientation together when you review them, but preserve the original reading sequence in the submitted file.
Open Photos to PDF, add the corrected images and inspect the order shown in the workspace. Rotate individual sheets if you took them sideways, then pick the paper size requested by the recipient. Download the combined PDF and go through it from the first page to the last. Check for a duplicated front page and a missing reverse side before uploading. If a back is blank, follow the recipient’s instructions about whether to include it.
Diagnose a scan that passes preview and fails upload
When an upload fails, read the error and separate file type, file size and content errors. Renaming a JPG with a .pdf extension leaves the original file format unchanged. Export in the requested format and check the download properties. If a size limit is the problem, save an uncompressed master first, then work on a copy. A slightly smaller camera capture or a moderate compression setting can be enough. Open the smaller result and check dates, amounts, reference numbers and signatures before it replaces the master in the submission.
Keep meaningful names when you work with multiple recipients. A neutral label such as application-form-final.pdf is easier to select accurately than three files called scan.pdf. Avoid including identification numbers in filenames if those names will be visible outside the submission form. Review the exact attachment shown in the upload list and check the confirmation page before putting away the originals.